Sailor Moon R Speedrun Any%Hard strategy.
This is the Sailor Moon R Speedrun Any%Hard strategy.
This is a machine translation of an article I wrote in Japanese.
Please understand that some of the sentences may not be correct.
Any%Hard Strategy Japanese Ver
norishige710speedrun.hatenablog.com
Any%Normal article is here.
norishige710speedrun.hatenablog.com
Table of Contents
- Explanatory Video
- What is Any%Hard?
- Characters to use
- Name of the enemy
- Strategy by Stage: Stage 1
- Strategy by Stage: Stage 2
- Strategy by Stage: Stage 3
- Strategy by Stage: Stage 4
- Finally.
- Discord Server
Basic Information
Timer start and stop.
The basics of the controls and RTA techniques can be found in this article.
This is an old article, so some of the information may be outdated, but it is somewhat complete.
norishige710speedrun.hatenablog.com
Explanatory Video
※There is also an explanatory video, but all explanations are in Japanese.
What is Any%Hard?
These are the so-called "categories".
In other words, the objective of clearing Speedrun.
In Sailor Moon R, Any%Hard is a competition to see how fast you can clear "むずかしい"
The only difference between the difficulty levels is the amount of strength of the enemies, not that the AI gets smarter.
 Difficulty level: Easy
 Difficulty level: Normal
 Difficulty level: Hard
The game's specification is that you must annihilate all the enemies in an area to move on.
※ The image has been edited and combined for clarity.


Area① Area② Area③
As an example, if you defeat two of them in area 1, you can proceed to area 2. In area 2, if you defeat 6 of them, you will go to area 3....
The game proceeds in this manner. If you don't kill all the enemies in the area, you can't move on.
The key is to defeat all the enemies at once and get to the next area as quickly as possible!
However, the game only shows 2 to 4 enemies at a time. (*The basic limit is two.)
The speed of the game will vary depending on the area you are in, how many enemies are boiling, and in what order they are defeated. (*Basically, no more than two.) The speed will vary depending on what area and how many enemies are boiling, and in what order they are defeated.
The runner can learn these things to reduce the number of times he has to run back and forth.
The runner can save time in small ways.
Characters to use
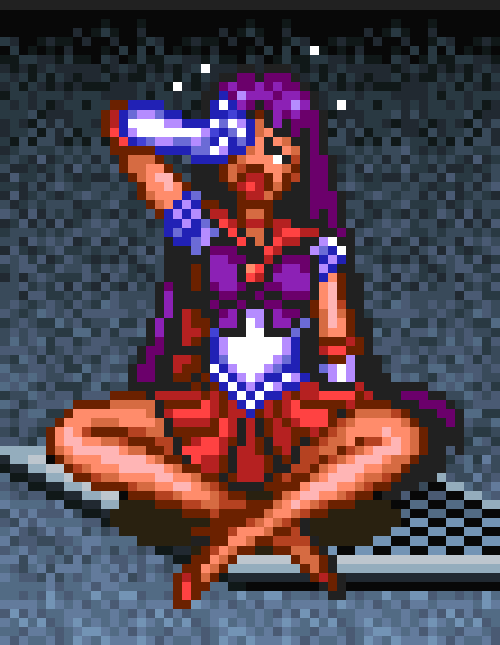
You can choose any of the five Sailor Senshi characters.
In this category, Sailor Venus is unquestionably the fastest.
Here are some of the reasons why.

Q. What are the strengths of Venus?
A.Chain Combo

The chain attack under the jump is just so strong!
It is effective against most enemies and its strength is that it can kill enemies all at once! The key to shortening the time is to understand and be able to use this chain technique.
MegaClash Performance Chart
Mega Crush...A spinning attack that can be performed with the A button.
※ In this article, the A button attack will be referred to as Mega Crush.

It also has high Mega Crush performance.
Its power, attack range, life consumption, and cost performance are high.
The strongest without question.
Name of the enemy
Enemy names have a specific meaning in Japanese.
This article is written in the notation of the following sites.

SNES - Bishoujo Senshi Sailor Moon R (JPN) - The Spriters Resource
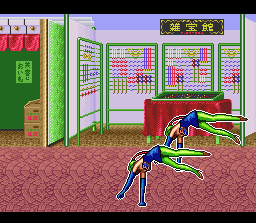
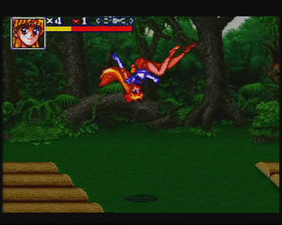
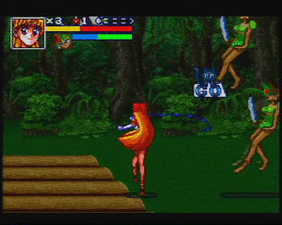
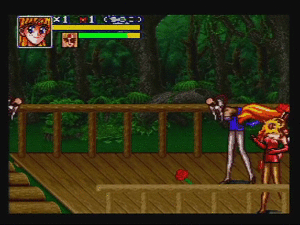
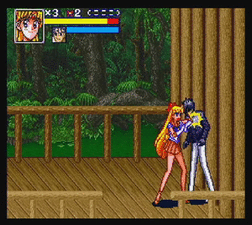
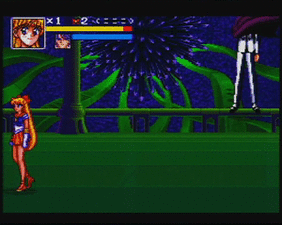
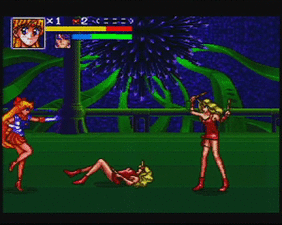
Strategy by Stage: Stage 1
Section best record video
There are not many enemies, and many of them are basically weak, but the variety of enemies is good for practice.
It requires you to manage your standing position, which is the basis of everything, and to avoid failing combos.
There are also recovery items in moderation, so you want to make sure you don't die in the beginning.
Use your super special move here!
Super special move, 1st
Apply the chain to Furaiki and use it after everyone has been hit with Mega Crush.

The three enemies here have a lot of strength and move quickly, so if you can defeat them all at once, you can save a lot of time.
Super special move, 2nd
Use the super special move when the window opens and four enemies come out.

If you use this timing, the enemies will roll together in one place instead of scattering.
Keep moving and gain distance while attacking with chains and defeating with Mega Crush.
Super Special Move, 3rd (if picked up)
Depending on your strength along the way, you can pick up ribbons from the item box.

In that case, I recommend using it in the boss battle.
By using a super special move at the opening of the game, you can defeat the boss in a stable manner because he will surely fall in the same place.
If the boss fight goes well, not using the ribbon is a little faster. However, it is within the margin of error.
If you get a ribbon, you can use it to stabilize or not... I'd like to leave the decision to each runner.
BOSS: Esmeraude
It slides to the edge of the screen at the start of the game, so use Mega Crush to roll it over, and then use the chain combo.
If you get it right, you can defeat it with the combo. If you fail in the process, it will escape to the hollow in the middle.


If an enemy rolls off-screen, it will sense your ship and shift its position.
You can also be kicked from off-screen.
It can't be helped. Try not to worry about it too much.
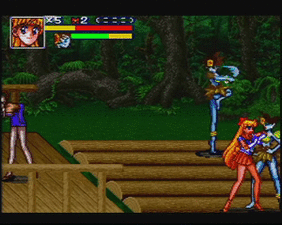
Strategy by Stage: Stage 2
Section best record video
The second side has fast-moving enemies, enemies that are difficult to combo, and the only gimmick in the game, the raft.
The key to time attack is to keep the raft moving. Practice again and again to get used to it.
Fortunately, on Hard, Venus' Mega Crush and throws are easy to use, so the raft is easier than on Normal. Fortunately,
Let's get the roses.
In the middle of 2-1, if you hit the Mega Crush well and don't get hit too much, you can get to the rose without dying even once. If you get it, you won't have to see the misses.


Each miss production is about 5 seconds of rigidity.
If you get it right, you can eliminate this, which is huge!
In this Speedrun, depending on the situation, you may dare to die, but dying in front of the rose is a bit of a waste. It's a bit of a waste.
However, this is difficult, so it is important not to worry if you make mistakes.
raft zone
The raft gimmick appears only in Stage 2.
There are several techniques that can be used only here, so I'd like to explain them step by step.
Rafts, die and recover.
If you fall from the raft, you will take 20 damage.
By deliberately falling and taking damage, you can recover all of your life while reducing your remaining machines.
The advantage of this is that you can recover without seeing the crying performance.
This is an effective method when you want to recover quickly.
Dropping 8 bodies
Reference: 2-sided section best video from about 3:05 seconds

Two Attsugessho bodies to two Avogadora bodies.
I've dropped 8 of them during this 6 second gif.
![]()
![]()
![]()
![]()
![]()
![]()
![]()
![]()
Since only two enemies can appear at the same time, you must drop them in a predetermined order or they will be misplaced. Be careful.
Raft scrolling bug
Reference: 2-sided section best video from about 3:30 seconds

Stand at the tip with the line of rafts as your landmark.
Try to hit Mega Crush repeatedly! Enemies will bounce off of you, so take them down quickly.
Use your super special move here!
In the second stage, there is a ribbon at the beginning, so you can use the super special move three times.
Super Special Move 1st
The first super special move is at the end of 2-1.
Good if you can hit Furaiki x2, or the last Black Furaiki and Green Heavy Shade.

Make sure you can defeat it before using a super special move.
If you can't defeat it with a Super Special Move, you'll have to wait for the enemy to get up.
While the enemy is still floating from the attack, hit it with a Super Special Move to defeat it.
Super special move, 2nd.
Opening of Stage 2-2.
Atsugessyo is within a definite range of a super special move with one Mega Crush.
Avogadora x2 has a bit more health, so hit her with a punch or chain, then Mega Crush.
Super Special Moves can be fired on the right side of the screen, allowing the screen to scroll immediately after defeating the three enemies.
This depends on the enemy's movement, so if you have time...just do it. I want to remember this.
Super special move, 3rd.
Atsugessho x 3 bodies after the raft arrives.
Red Atsgessho, who comes out from the right side of the screen, has a little too much health to be defeated by Mega Crush alone.
Use Punch + Mega Crush to reduce her health to a level where she can be defeated, and then use a Super Special Move.画面右側から出てくる赤アツゲッショの体力が少し多い
BOSS:Saphir
The moment the screen changes, they will start falling from the sky.
After intercepting them with Mega Crush, place a punch on the right wall and repeat to defeat them.


Defeat it by repeatedly punching, punching, and mega-crushing it. Be careful of the distance, as described below.
NG behavior
①Chain Combo ②Getting too close.

①It's best not to use jump attacks, as they will detect your jump and drop you with a later Samasort kick.
②Be careful not to get too close or you will be interrupted by the throw.
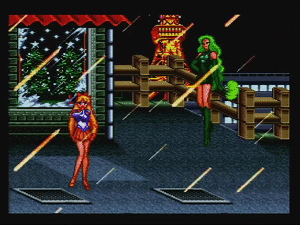
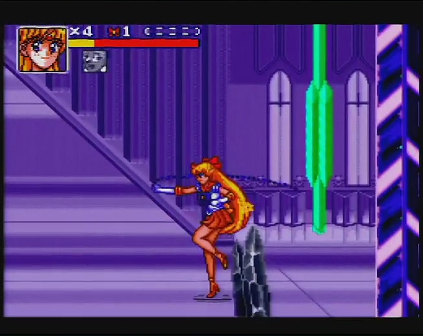
Strategy by Stage: Stage 3
Section best record video
The third stage is the longest of all the stages, with a large number of enemies, all of which have been reinforced and are highly durable.
Of course you need good judgment, luck, and technique, but above all, basic skills are important.
How many enemies can you put together? There's a big difference in time just by how well you can group enemies.
I'd like to start with that in mind, and aim to clear the game in 13 to 15 minutes.
falling floor

 ◀Heavy Shade
After defeating the yellow Heavy Shade in the beginning, stay to the right as the floor will collapse.
Before it collapses, you can use Mega Crush to move around.
If you wait on the left side, you'll simply lose distance.
Stay on the right side to scroll the screen faster.
Attack of the Furaiki


The moment you pass through the window, two Furaiki will jump at you, so intercept them with Mega Crush.
If you can keep up the combo after this, you can defeat them quickly.
However, it's a luck factor. Basically, they get away in the middle of the road. (Right)
Heavy Shade intentionally knocked me down.
※This is a technique that I don't do (or can't do) depending on the situation, but it is one of my techniques.
The last part of the first half of the third side has an area where four heavy shades appear.

These four creatures do not all appear at once.
They appear at different times: first two, then one later, then the last one, and so on.
This is a shortening technique that takes advantage of this.
As soon as they arrive, or when you defeat the first two or three, use a lot of Mega Crush or eat attacks to reduce their health. This is a technique that intentionally aims to create a situation where you can wait for the fourth one to appear, finish the crying performance, and recover your health.

If you get it right, you can go to the second half of the third stage with all your energy restored without the 5-second loss of the crying effect.
The next technique I'm going to show you is a big move that you can perform by adjusting your remaining health.
If you can adjust your health here, the success rate of the technique will increase a little.
Get the ribbon!
In this game, the item that comes out depends on your stamina when you destroy the item box.
Adjust your stamina by mega-crushing or attacking enemies, and get the ribbon for one more super special move!


Jamanen is a powerful enemy that takes a long time to defeat.
If you get the ribbon, you can use a super special move to defeat it quickly, which can shorten the time significantly.
Jamanen


The strong enemy, Jamanen, cannot be hit by any attacks other than his super special moves while he is diving.
He also moves at high speed and shifts his axis, and if you're too close to him, he'll even counterattack!
It's very annoying when it dives, and you never know when it's going to come out. (Sometimes it dives for 10 seconds.)
Use your super special move here!
There are two points in Stage 4 where you can generate ribbons. You can use up to four of them.
Getting four ribbons is not easy at the moment.
One of the reasons is that it doesn't make sense if it takes too much time to get four.
The first thing I want to do is to stabilize getting three.
Super special move, 1st.
Use it in the second half of the third stage, when Jamanen (yellow) appears for the first time.

Use a punch or Mega Crush to reduce the enemy's health, and use a Super Special Move when you see that you can defeat it.
If you can't defeat it, you'll have to wait until Jamanen shows his face.
Super special move, 2nd.
It is generated by destroying the item box.
If you have successfully obtained the ribbon, use it on Jamanen here.
If you fail to generate the ribbon, there is another item box below this one, so you can try again depending on your strength.
Super special move, 3rd.
Use it on the two yellow Jamanen in the boss room.

After dealing some damage, shoot them when they are about one yellow gauge away.
Silver Jamanen will appear the moment you kill either one of them.
Depending on how lucky you are with the timing of enemy appearances, you may want to kill one yellow and use it against yellow and silver.
Super special move, 4th.
Obtained from the second item box in the middle of 3-2.
It's extremely difficult to get the ribbon here because there are no enemies in front of the box, so you can't take damage or adjust your health with Mega Crush.
However, if you can adjust your health when you reach the box, you can get the ribbon itself.
If you can get it, use it on the two yellow Jamanen in the boss room as well as the third super special move.
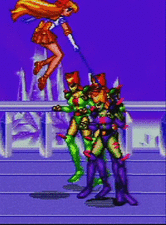
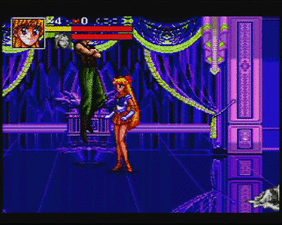
BOSS:Rubeus
After defeating the three Jamanen, the boss will come down.
If you stand on the right side when the boss comes down, you can let him escape to the left side.
![]()
![]()
![]()
![]()
The boss room here has a wall on the left, so he won't run off screen after you roll him over.
Aim for maximum damage with the Jump Chain Attack followed by the Punch Punch Mega Crush.
What happens when I'm low on energy and can't use Mega Crush?
Watch out for Jamanen's attacks and Rubeus' uppercuts as you hit the chain combo.

However, if you are unlucky, you will die.
Incidentally, the right side of the room has some open space, so there is a possibility that you can escape to a place where attacks cannot reach.
Be careful.
Strategy by Stage: Stage 4
Section best record video
The fourth side is a straight path, with a boss room after the first half.
There are a lot of enemies and they have a lot of strength, so if you can't defeat them well, your time will be blown.
The boss room has enemies with high attack power, so you need to be careful. You may miss the record at the last minute.
Heavy Shade Zone1


Two yellow, two blue, two yellow. I want to kill them all at the same time as much as possible.
The blue heavy shade jumps at you, so intercept it with the powerful Mega Crush.
Note that if you drop it with a punch, it will only deal punch damage. Be careful.
BOSS: Prince Demande
After defeating the four Furaiki in your entourage, the boss will come down and you can intercept it with Mega Crush.
![]()
![]()
![]()
![]()

Furaiki's blitzkrieg attack is so damaging that it can throw off your schedule.
The final boss, Prince Demand, is not weak either, so be careful.
Punch Mega Crush xn times to roll over. Watch the enemy's life and use a super special move when you're sure you can defeat it.
However, if you don't hit it well, it will make a big jump and run away.
Use your super special move here!
There is a steady path and an aggressive path that is fast but difficult.
It is up to the runner to choose which of these two paths to take.
First, the stable way.
①Stability Chart
Repeat Punch-Punch-Mega-Crush and when the boss's life gauge turns green
(when you see the yellow gauge), hit him with two super special moves.
Basically, though, you should consider it a loss to hit a single enemy with a super special move.
But in the last boss battle, a moment's mistake can cause a big jump and escape... the damage from an accident is huge.
It's also a good idea to save super special moves that can deal a lot of damage.
Once you've dealt a certain amount of damage, you'll have the psychological peace of mind that you'll be able to defeat it with just two super special moves.
I recommend this chart until you get used to it.
②Attack Chart
It is better to hit more than one super special move that is an overall attack! That's the idea behind this table.
You'll get to the boss room faster than you would with a normal attack.

However, if you use a super special move here, the last boss fight becomes a tougher battle.
The more times you hit with the Punch Punch Megakura, the more likely you are to be hit by Fouraiki's attacks, and the more difficult it is to adjust the timing and position of your roll.
However, the returns are great, so if you have the skill, it's worth it.
Finally.
In this game, there is always a small element of luck in the way enemies move, and the small shortcuts add up to big shortcuts.
It is a type of game where small shortcuts add up to big shortcuts. Basic skills and judgment are very important.
You may be doing the best you can, but luck may betray you. That's what this game is all about.
I want to learn it! If you want to learn how to play, I recommend you to play on Easy or Normal difficulty level.
If you're just starting to learn, I'd recommend the Easy and Normal difficulty levels, which are short and easy to finish.
This is because you can't tell which enemies will do what. Where do they come from? This is because it is easy to remember what enemies do and where they come from.
It's easy to remember what enemies do, where they come from, and where to fire their super special moves. There aren't many places where you can personalize your chart other than where to fire your super special moves.
Once you know when to shoot, it's just a matter of how well you do on the way. It's a game of how well you do on the road.
There may be better places to use super special moves than the ones I've thought of.
I hope this will attract more new runners, as it may lead to new bugs.
Discord Server
We've created a place where runners can communicate and contact each other, take notes on charts and techniques, and ask questions if they have questions.
If you are interested, please feel free to join us. Non-runners are also welcome.